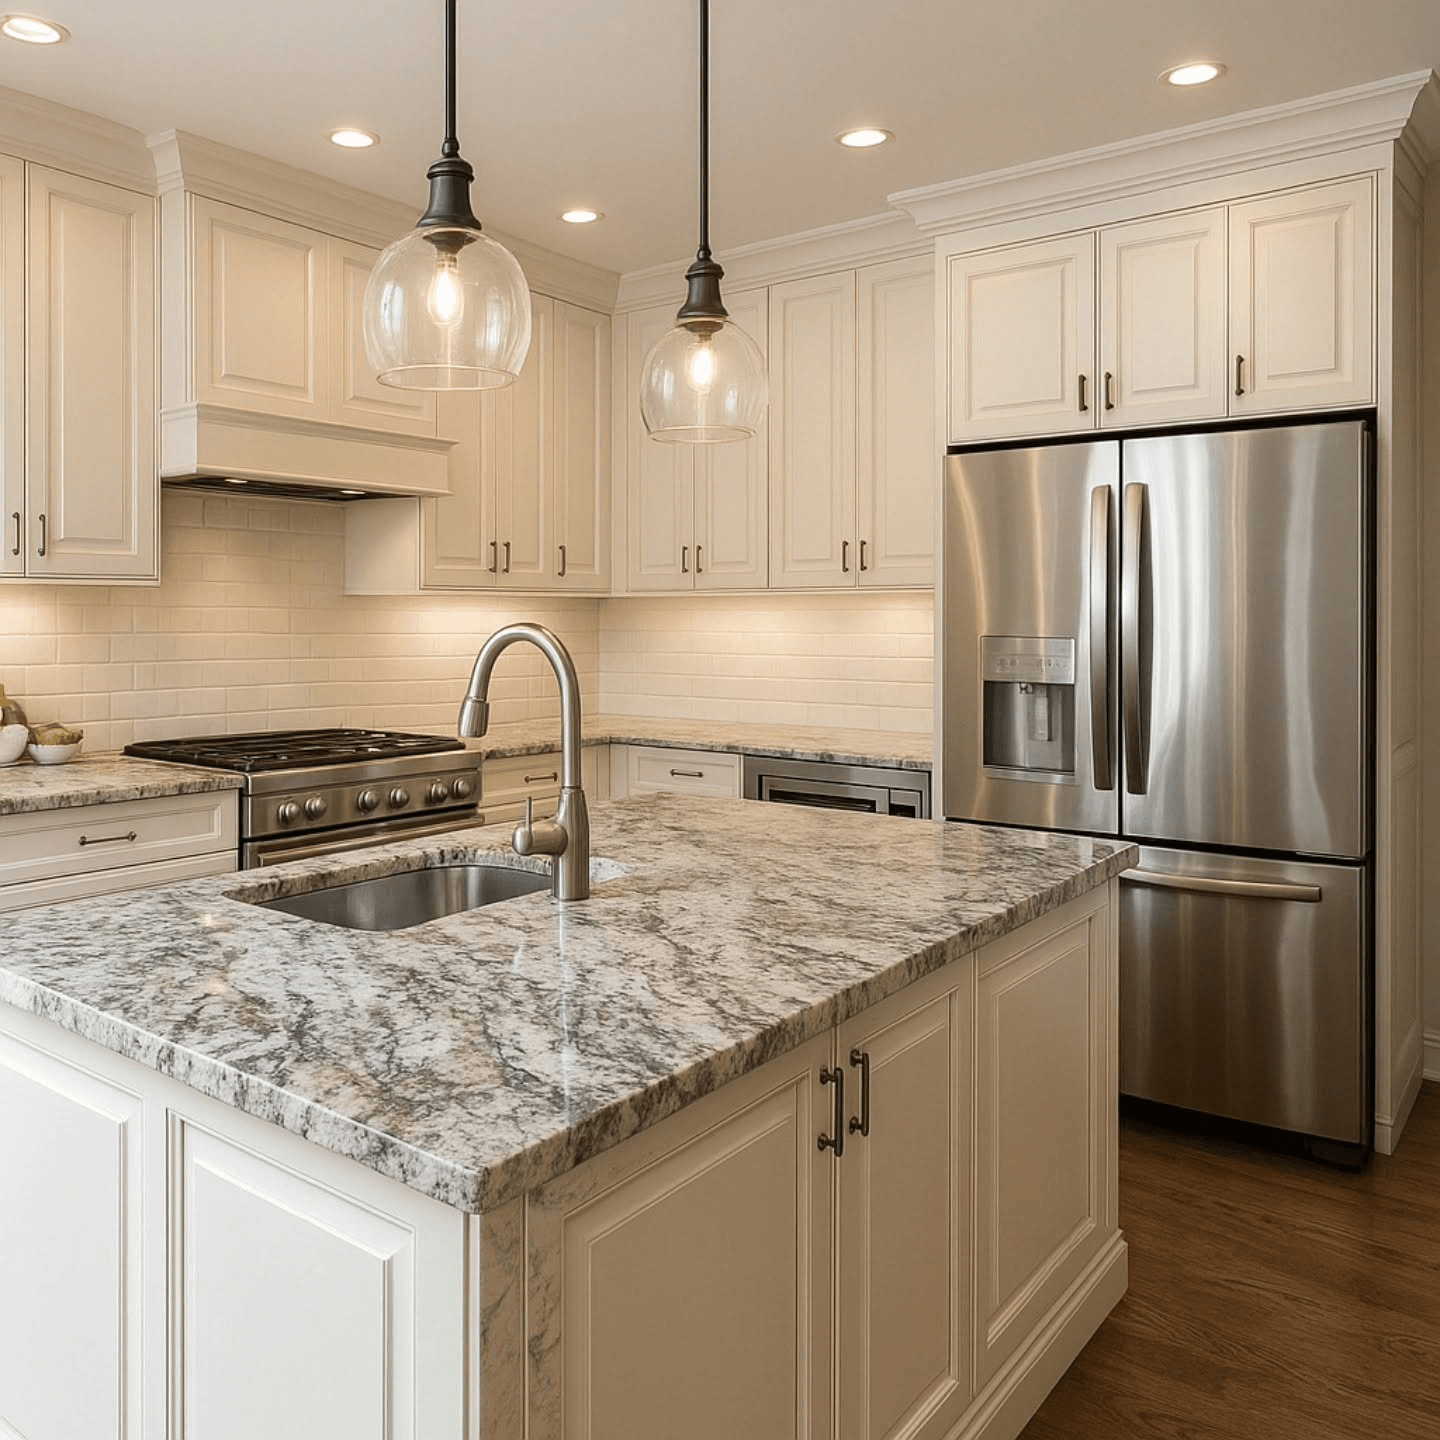
Removing a granite countertop is more difficult than it may seem. Granite is extremely heavy, and it is often secured with adhesive, silicone, brackets, seams, and sometimes screws or clips. If the work is rushed, the cabinets, walls, backsplash, sink area, or stone surface can be damaged.
Many homeowners want to keep their existing cabinets during a kitchen remodel or countertop replacement. In that case, careful removal is essential. The goal is to loosen the stone without pulling, cracking, or weakening the cabinet frames below it.
This guide explains how granite removal works, which tools are needed, how to protect cabinets, common mistakes to avoid, and when it is safer to hire professionals. East Coast Granite of Charlotte helps homeowners upgrade their kitchens with expert installation and high-quality countertop materials while protecting the existing structure of the space.
Can Granite Countertops Be Removed Without Damaging Cabinets?
Granite can often be removed without damaging the cabinets when the right tools and techniques are used. The process depends on how the original countertop was installed, how much adhesive was used, and whether the cabinets are still in good condition.
A granite countertop is usually attached with silicone, construction adhesive, or epoxy. Some installations also include support brackets, especially near overhangs, islands, or large sink openings.
Because granite is heavy and rigid, it should never be forced upward. Too much pressure can crack the stone or pull parts of the cabinet frame with it.
What Affects the Difficulty?
The removal may be easier if the countertop was installed with light silicone. It may be harder if strong adhesive was used across a large surface.
Other factors include the size of the slab, the number of seams, the sink type, the backsplash connection, and the condition of the cabinets. Older cabinets may be more fragile and need extra support before work begins.
Professional removal is usually the safest option when homeowners want to preserve existing cabinets during a remodel.
Tools and Safety Equipment You'll Need
Basic Tools
The right tools make the job safer and more controlled.
Common tools include a utility knife, putty knife, pry bar, screwdriver, shims, caulk remover, and painter's tape. Suction cup lifters can also help move heavy stone more safely.
A helper is strongly recommended because granite is too heavy for one person to handle safely.
Safety Equipment
Safety matters during the entire removal process.
Use work gloves, safety glasses, steel-toe shoes, and dust protection. Long sleeves can also help protect arms from sharp edges, broken caulk, or small debris.
Granite edges can be sharp, and the slab can shift quickly once it becomes loose. Proper safety gear helps reduce the risk of injury and lowers the chance of countertop damaging mistakes.
Step-by-Step Guide to Removing Granite Countertops
1. Prepare the Workspace
Clear the counters, cabinets, drawers, and surrounding floor area. Remove small appliances, dishes, décor, and anything that could get in the way.
Cover nearby floors and cabinet faces with protective material. This helps prevent scratches and dents if tools or small pieces of adhesive fall during the work.
Good lighting is also important so seams, caulk lines, and brackets are easy to see.
2. Disconnect Plumbing and Fixtures
Before removing countertop materials near a sink, turn off the water supply.
Disconnect the faucet, drain lines, garbage disposal, and any other plumbing connected to the countertop. If the sink is mounted under the granite, check how it is attached before loosening the stone.
Do not lift the countertop while plumbing is still connected.
3. Cut Caulk and Adhesive Lines
Use a utility knife to cut through caulk where the countertop meets the wall, backsplash, sink, and cabinets.
Work slowly and make several light passes instead of one aggressive cut. This helps protect painted walls, cabinet finishes, and the stone edge.
If there is a tile or stone backsplash attached to the counter, you may need to remove backsplash sections before lifting the granite.
4. Check for Brackets, Clips, or Screws
Look inside the cabinets under the countertop.
Some installations use brackets, screws, or clips for extra support. These must be removed before lifting the stone. Missing one fastener can cause the cabinet frame or countertop edge to crack when pressure is applied.
This step is especially important around islands, peninsulas, and overhangs.
5. Loosen the Countertop Carefully
Insert a putty knife or thin shim between the countertop and cabinet top.
Work slowly along the edge. The goal is to separate the adhesive without forcing the slab upward. A small pry bar may be used carefully, but it should not press directly against finished cabinet surfaces.
If the stone does not move, stop and check for more adhesive or fasteners.
6. Lift the Slab With Help
Once the countertop is fully loose, use suction cup lifters and several people to lift it evenly.
Granite can crack if it is lifted from one side or twisted. Large countertop slabs should stay supported during the entire move.
If the slab will be reused, place it on a stable padded surface and keep it upright when possible.
How to Protect Cabinets During Removal
Support the Cabinet Frames
Cabinets should be stable before removal begins.
Check for loose frames, weak corners, or damaged cabinet boxes. If the cabinets move or shift, they may need to be secured before the countertop is removed.
This is especially important in older kitchens.
Avoid Excessive Force
Using too much force is one of the most common mistakes.
Prying aggressively can damage cabinet tops, face frames, side panels, and finishes. It can also crack the granite. The safer method is to cut adhesive carefully, use thin shims, and loosen the slab gradually.
If the countertop feels stuck, the answer is not more force. It is usually more inspection.
Protect Finished Surfaces
Use tape, padding, and protective covers where tools may touch the cabinets.
This helps prevent scratches, dents, and chips. Cabinet doors and drawers can also be removed if more access is needed.
Careful preparation makes removing countertop materials safer for both the cabinets and the surrounding finishes.
Can You Reuse Granite Countertops?
Reuse Is Sometimes Possible
Granite can often be reused if it is removed carefully and stays free of cracks or major damage.
Reuse may be possible when the new layout is the same or very similar. It is harder when the sink location, appliance openings, seams, or cabinet layout changes.
The slab must also be inspected for cracks, weak seams, or damage near cutouts.
Benefits and Limits of Reusing Granite
Reusing granite can save material costs and reduce waste. It can also help preserve a stone surface that the homeowner already likes.
However, reuse has limits. Existing cutouts may not match the new design. The slab may not fit new cabinets. Seams may not align correctly. Some older stone may also be difficult to match if additional pieces are needed.
In many cases, replacing the countertop gives a cleaner and more flexible result.
When Replacement Is Better
If the granite is cracked, outdated, poorly fitted, or difficult to reuse, a new surface may be the better choice.
East Coast Granite of Charlotte offers a wide selection of granite, quartz, marble, quartzite, and other premium surfaces. Homeowners can compare materials, choose the right color and pattern, and get professional fabrication and installation.
If you are planning a kitchen update, expert help can make the project safer and more predictable. Contact East Coast Granite of Charlotte to discuss countertop replacement, review material options, and plan a new surface that fits your home.